Jim Bailey's Surrender House Photo Album
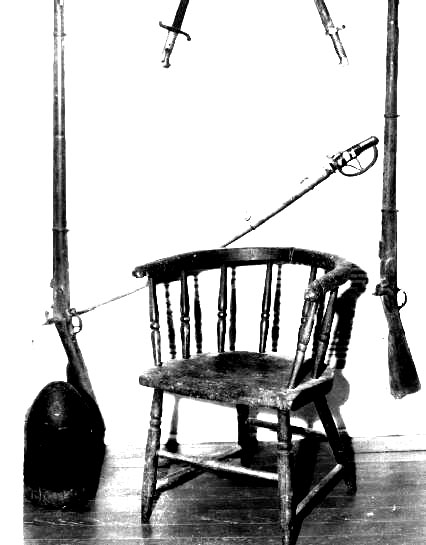
Chair used for signing of the surrender. Photo by Jim Bailey. rbailey@azstarnet.com
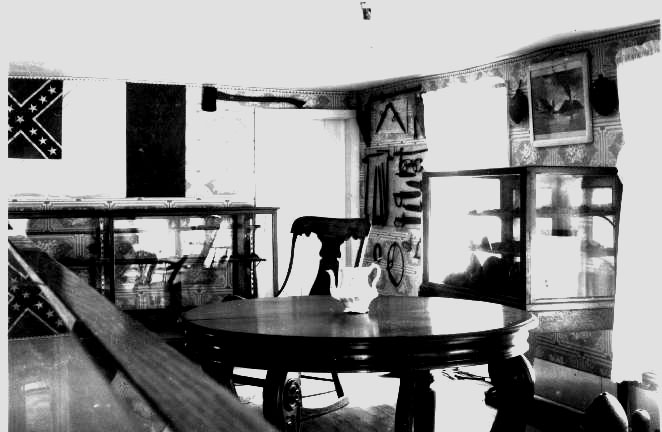
Room and table at which surrender was signed. Photo by Jim Bailey. rbailey@azstarnet.com
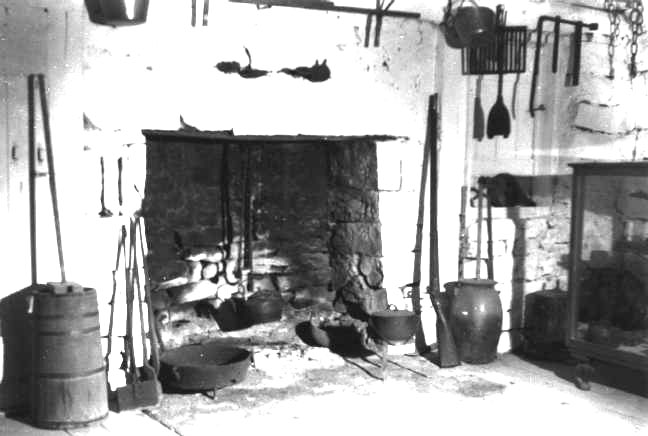
Fireplace at Surrender House. Photo by Jim Bailey. rbailey@azstarnet.com
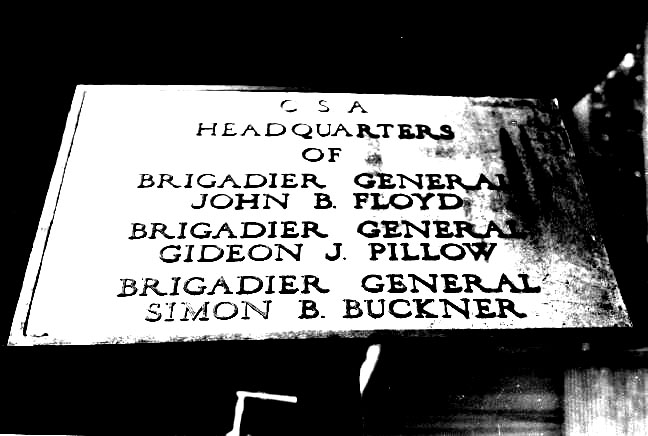
Marker at Surrender House. Photo by Jim Bailey. rbailey@azstarnet.com
Go to Part II of Jim Bailey's Surrender House Photo Album